Official Documentation · v1.0
Resident Management
System
System
A full-stack property management platform built with .NET gRPC, ASP.NET Web API, and Flutter — designed for apartments, residential communities, and property managers.
⚙️ .NET 6+
🔌 gRPC
🗄 PostgreSQL
📱 Flutter 3.19
🌐 IIS / HTTPS
Introduction
What is RMS?
RMS is a three-tier system that connects residents, management, guards, and technicians through a unified backend and intuitive mobile app.
Backend Projects
3 Services
User Roles
4 Roles
Protocol
gRPC + REST
Mobile Platform
iOS & Android
Architecture
System Architecture
RMS is composed of three independently deployable server-side projects and one Flutter mobile application.
Request Flow
Flutter App
(iOS / Android)
(iOS / Android)
Mobile Client
→
Web Admin
(ASP.NET MVC)
(ASP.NET MVC)
Admin Panel
→
gRPC Services
(.NET API)
(.NET API)
Core API
→
PostgreSQL
Database
Database
Data Store
⚙️ grpcservices
The core backend project. Exposes gRPC endpoints consumed by the Web admin panel and the Flutter app. Connects directly to PostgreSQL via the connection string in
appsettings.json. Published and hosted independently on IIS.🌐 Web (Admin Panel)
ASP.NET MVC project for super-admin and management-admin operations. Calls the gRPC Services via the API URL configured inside
Utility/Initial.cs. Published and hosted independently on IIS.📱 Flutter App
Cross-platform mobile app for residents, technicians, and guards. The backend API URL is configured directly in the Flutter source before building. Communicates with grpcservices over HTTPS.
Installation · Step 0
System Requirements
Before deploying RMS, ensure your server and development machine meet the following specifications.
Server Requirements
| Component | Minimum Version | Status |
|---|---|---|
| .NET Runtime | .NET 6 or later | Required |
| ASP.NET Core Hosting Bundle | 6.x or later | Required |
| PostgreSQL | Version 12 or later | Required |
| IIS | Windows Server 2016+ | Required |
| SSL Certificate | HTTPS enabled | Required |
| Visual Studio | 2022 (dev machine) | Dev Only |
Mobile Development Requirements
| Component | Version | Status |
|---|---|---|
| Flutter SDK | 3.19.0 (exact) | Required |
| Java JDK | JDK 18 | Required |
| Android Studio | Latest stable | Required |
| Xcode | Latest stable (macOS) | iOS Only |
Installation · Step 1
Deploy gRPC Services
The grpcservices project is the core API layer. It must be published and running before the Web admin panel or the Flutter app can function.
1
Open the solution in Visual Studio 2022
Open the
.sln file. The solution contains three projects: grpcservices, Utility, and Web.2
Configure the PostgreSQL connection string
Navigate to
grpcservices/appsettings.json and update the DefaultConnection value with your PostgreSQL server credentials.
appsettings.json
{
  "ConnectionStrings": {
    "DefaultConnection": "Host=YOUR_HOST;Port=5432;Database=rms_db;Username=YOUR_USER;Password=YOUR_PASSWORD"
  },
  "Logging": {
    "LogLevel": {
      "Default": "Information",
      "Microsoft.AspNetCore": "Warning"
    }
  },
  "AllowedHosts": "*"
}
appsettings.Production.json
For production, prefer using appsettings.Production.json to override sensitive values so development credentials are never deployed.
3
Run database migrations
Open the Package Manager Console in Visual Studio and run migrations against the
grpcservices project.
PMC
Update-Database -Project grpcservices
4
Publish the grpcservices project
Right-click
grpcservices → Publish → select Folder as the target. Configure the publish profile, then click Publish.
Publish Settings
# Recommended publish configuration
Configuration  : Release
Target Runtime : win-x64   # or linux-x64 for Linux IIS
Deployment Mode: Self-Contained
5
Create an IIS site for gRPC Services
In IIS Manager, create a new website pointing to the published output folder. Assign a dedicated port (e.g.,
5001) and bind an SSL certificate.HTTP/2 Required for gRPC
gRPC requires HTTP/2. In IIS, install the ASP.NET Core Module v2 and enable HTTP/2 in the site bindings. A valid SSL certificate (HTTPS) is mandatory.
6
Verify the service is running
Open a browser and navigate to your gRPC service URL. You should see the default ASP.NET Core response. Note this URL — you will need it in the next section.
Expected Result
The gRPC service responds at https://your-server:5001. Keep this URL ready for the Web project configuration.
Installation · Step 2
Deploy Web Admin Panel
The Web project is the administration interface. It must be pointed to the gRPC Services URL before publishing.
1
Locate the API URL configuration
In the
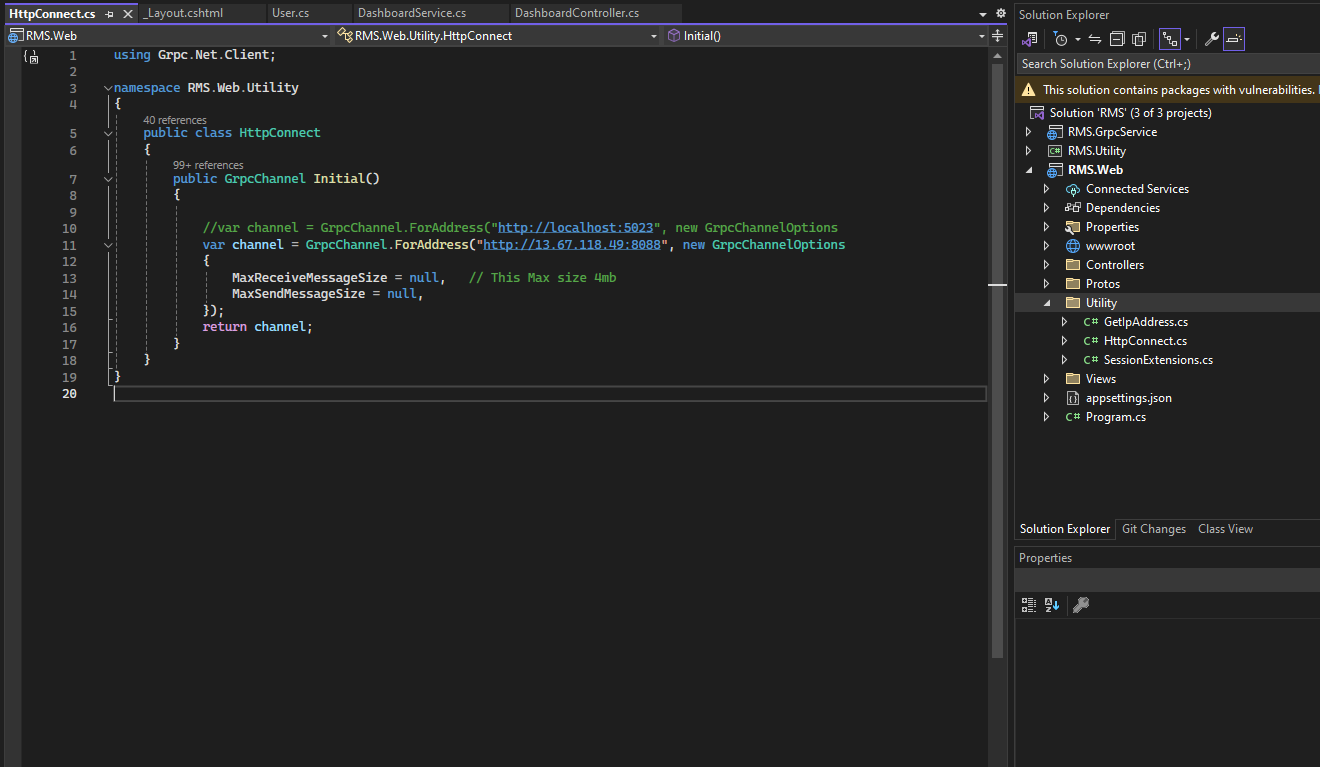
Web project, navigate to the Utility folder and open the file containing the Initial method. This is where the gRPC service base URL is configured.
File Path
Web/
└── Utility/
    └── Initial.cs   ← Configure API URL here
2
Update the API base URL
Inside the
Initial method, set the BaseUrl property to the full HTTPS URL where your gRPC Services are hosted.
C#
public static void Initial()
{
    // Set this to your deployed gRPC service URL
    BaseUrl = "https://your-server:5001";

    // Example for local development:
    // BaseUrl = "https://localhost:5001";
}
Must match the gRPC deployment URL
The URL here must exactly match the address where grpcservices is running — including the port number and protocol (https).
3
Publish the Web project
Right-click the
Web project → Publish. Use the same Folder publish method and target the IIS directory for the admin panel.4
Create a separate IIS site for the Web project
In IIS, create a new website on a different port (e.g.,
443 or 8080) pointing to the Web publish output. Bind the SSL certificate.Two IIS Sites
You should now have two IIS websites: one for grpcservices and one for the Web admin panel — both running independently.
Installation · Step 3
Build Mobile App (Flutter)
Set up your Flutter development environment, configure the API endpoint, then build and distribute the app.
1
Install Flutter SDK 3.19.0
Download the exact version Flutter 3.19.0 from the Flutter archive. Using any other version may cause compatibility issues.
Download
# Flutter 3.19.0 Archive
https://docs.flutter.dev/release/archive?tab=windows

# Extract and add to PATH
C:\flutter\bin
2
Set Flutter in Environment Variables
Add the Flutter
bin directory to your system's PATH environment variable.
Windows
# System Environment Variables → PATH → New
C:\flutter\bin

# Verify installation
flutter doctor
3
Install Java JDK 18
Download Java JDK 18 from Oracle and set the
JAVA_HOME environment variable.
Windows
# Download JDK 18 from:
https://www.oracle.com/java/technologies/javase/jdk18-archive-downloads.html

# Set JAVA_HOME in System Environment Variables
JAVA_HOME = C:\Program Files\Java\jdk-18

# Also add to PATH
%JAVA_HOME%\bin
4
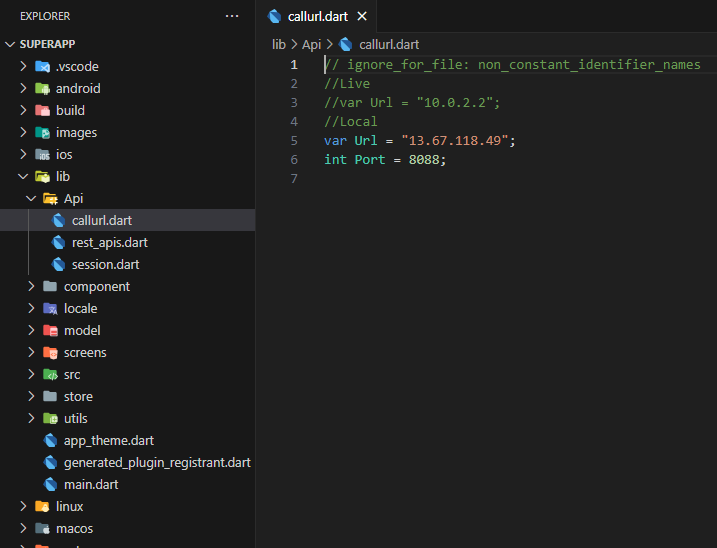
Configure the API URL in the Flutter project
Open the Flutter project source code. Find the API base URL constant (shown in the screenshot below) and update it to point to your deployed gRPC Services.
5
Get dependencies and build
Run the following commands in the Flutter project directory to fetch packages and build the release APK.
Terminal
# Install dependencies
flutter pub get

# Build Android APK (release)
flutter build apk --release

# Build iOS (requires macOS + Xcode)
flutter build ios --release
Configuration
Database Configuration
All database configuration lives exclusively in the grpcservices project's
appsettings.json.Connection String Reference
Replace the placeholder values with your actual PostgreSQL server details.
appsettings.json
{
  "ConnectionStrings": {
    "DefaultConnection": "Host=HOST;Port=PORT;Database=DB_NAME;Username=USER;Password=PASSWORD"
  }
}
Host
Server IP or hostname
Port
5432 (default)
Database
Your DB name
Configuration
API URL Configuration
The Web admin panel and the Flutter app each need the gRPC Services URL configured before deployment.
Web Admin Panel —
Utility/Initial.csOpen the
Initial method inside the Utility folder of the Web project. Set BaseUrl to your gRPC service's HTTPS address.Flutter App — API Constant File
Locate the constants or config file in the Flutter source where the API URL is defined. Update it to match your deployed gRPC endpoint, then rebuild the app.
Update both before publishing
The Web project and the Flutter app each need the URL updated independently. Forgetting one means that client will fail to connect.
Configuration
Email & Notifications
Account activation instructions are sent automatically via email. Configure the SMTP settings to enable this flow.
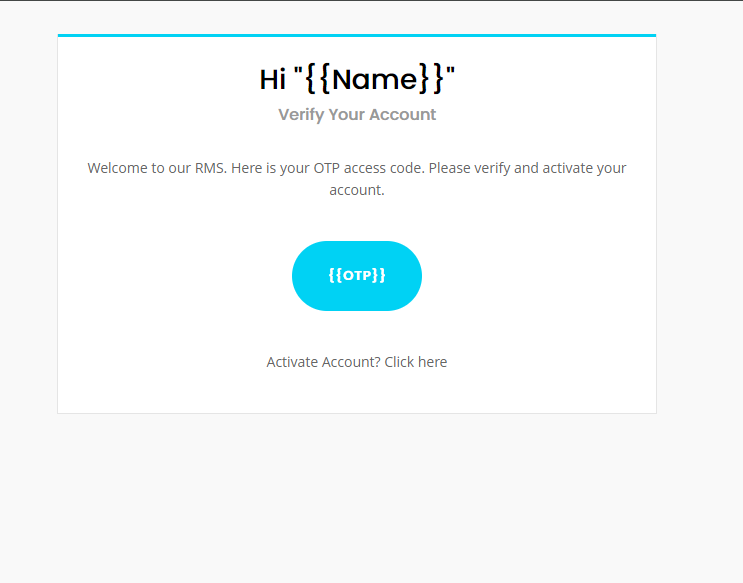
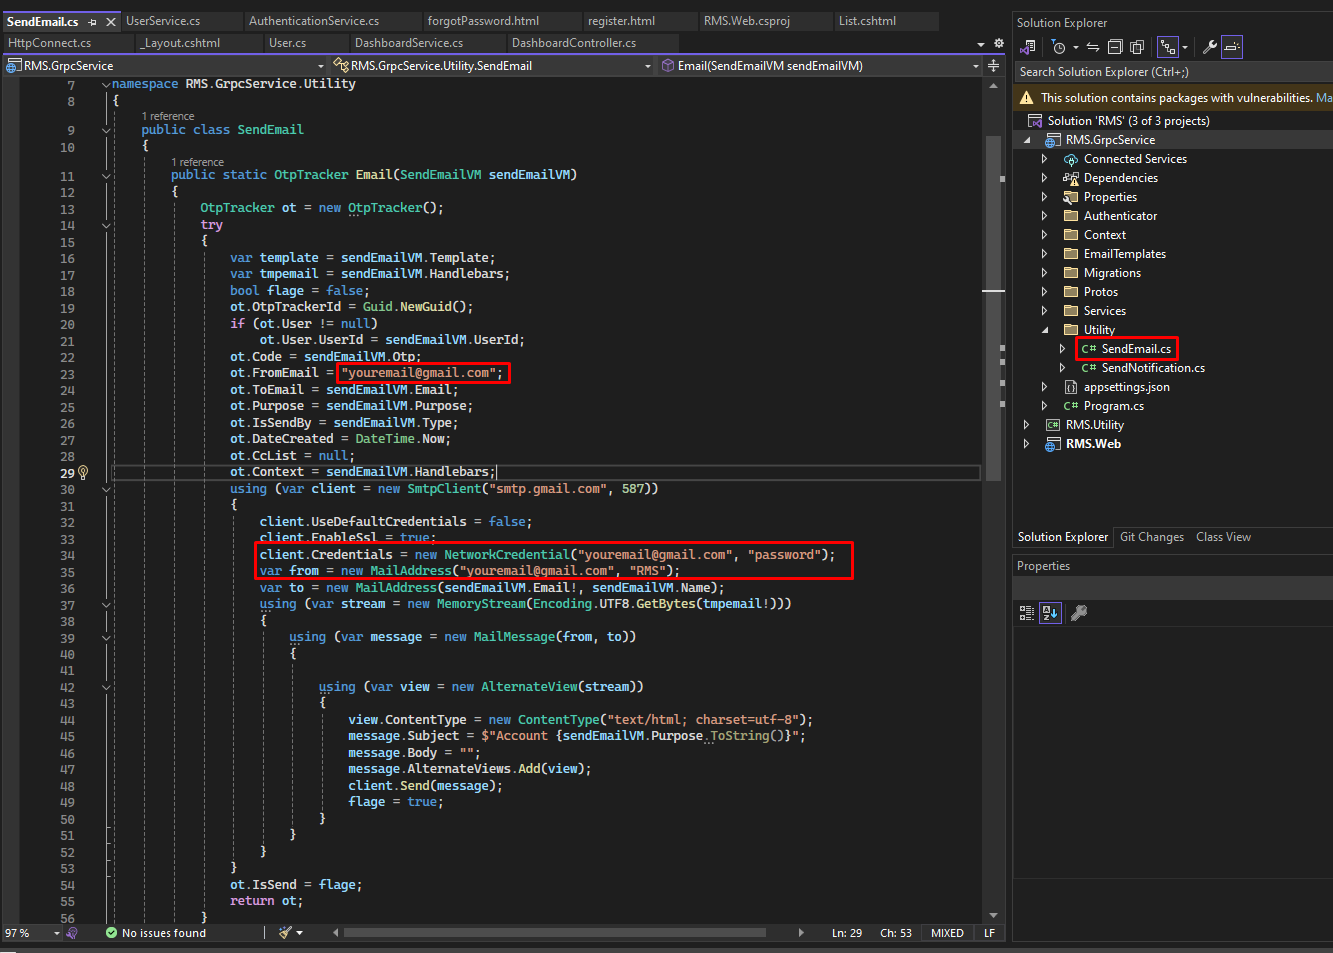
How it works
When a new user account is created by an admin, the system automatically sends an activation email containing login credentials and instructions. No manual step is required.
User Guide
Admin Panel Guide
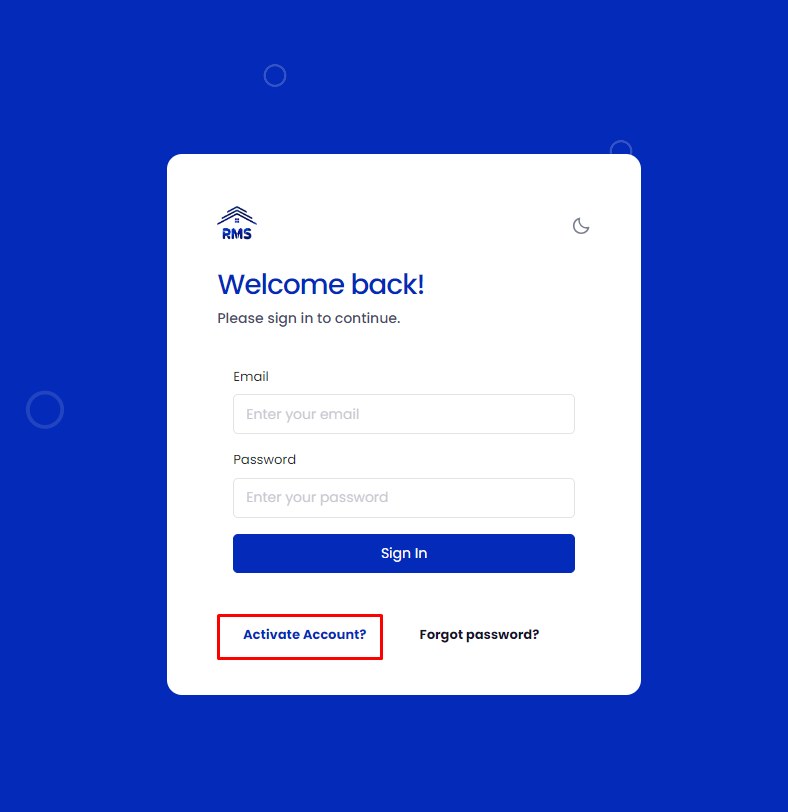
The web-based admin panel is accessible only to administrators. Users, technicians, and guards use the mobile app — but their accounts are activated here.
Super Admin
Manage Facilities, Buildings, Management Offices, Residences, Units, and user permissions across the entire system.
Management Admin
Handle Residence Unit requests, parking, Technicians, Accounts, Complaints, Inquiries, Visitors, Facility Bookings, and Checkpoints.
Banners & Sliders
Upload and manage banners displayed in the mobile app's home slider. Supports image uploads from the admin panel.
Committee & Slots
Add, edit, and delete Committee members, Booking Slots, and Service Providers visible to residents in the app.
User Guide
Mobile App Guide
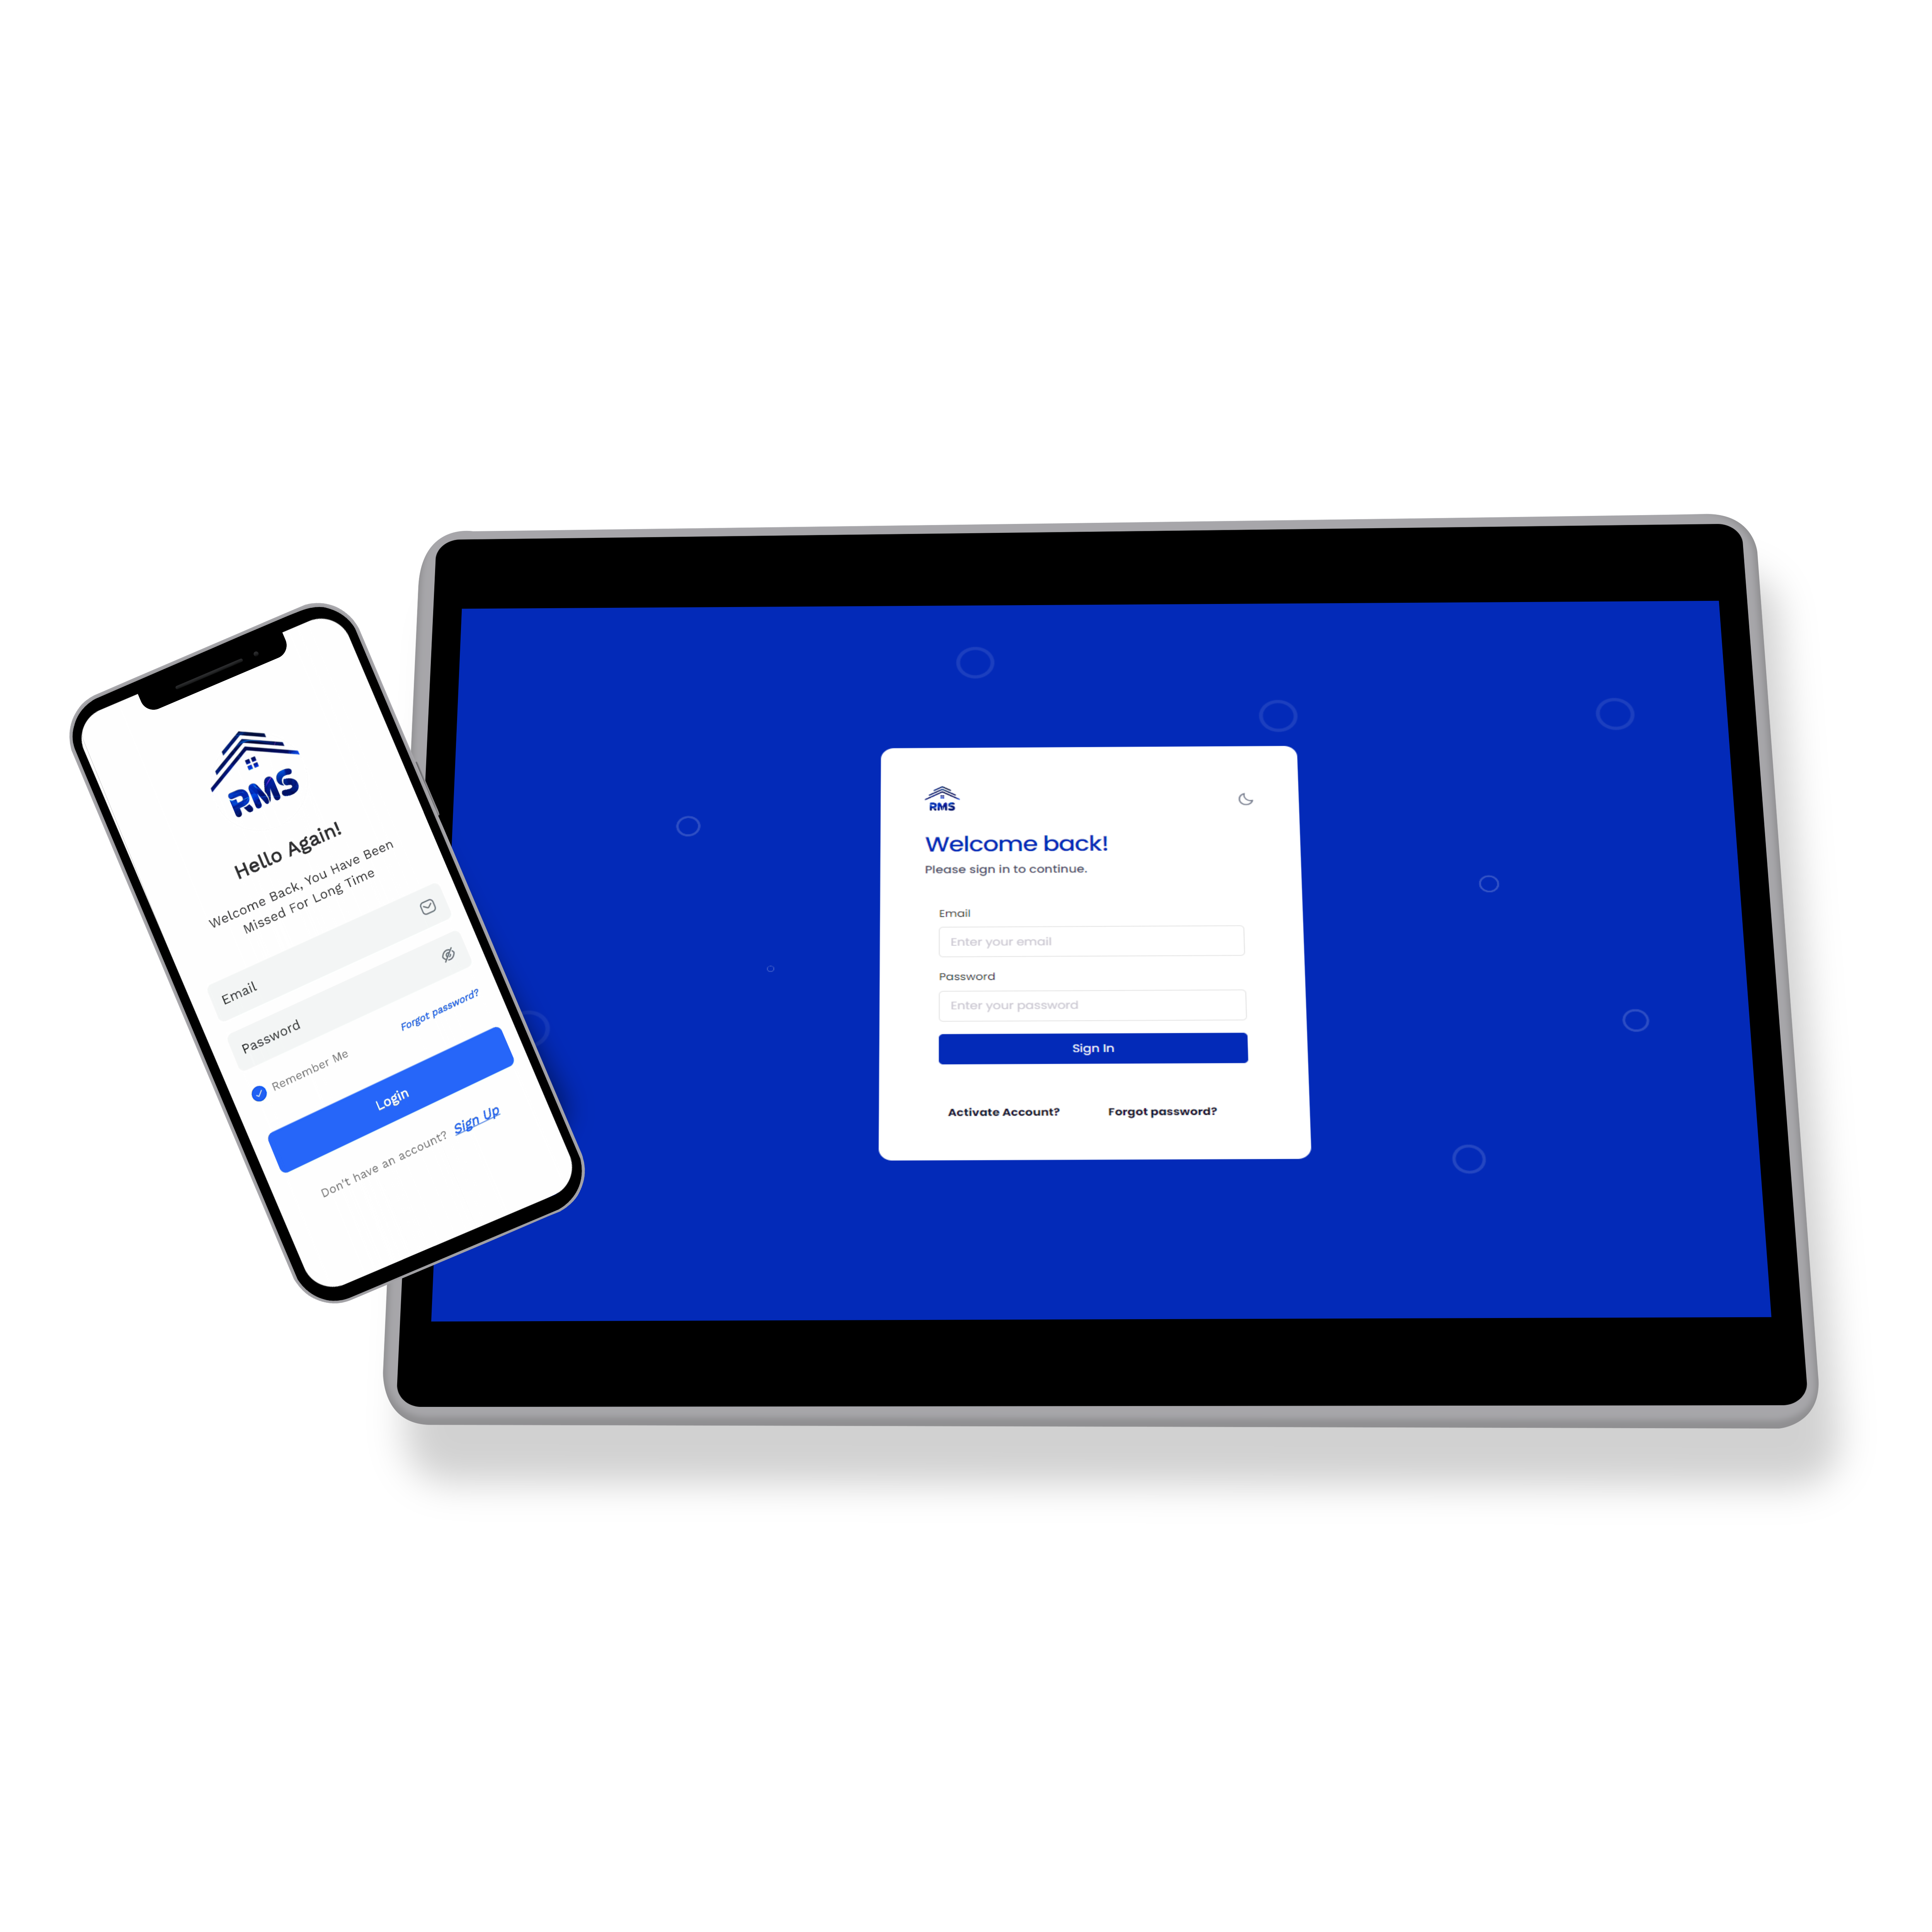
The Flutter app serves three types of users — Residents, Technicians, and Guards — each with a tailored interface and role-specific features.
Resident
Log in or register, add property, manage visitors, book facilities, raise complaints, view notices, and trigger panic alerts.
Technician
Log in, register with management, accept work orders, update job status with photo attachments, and view completion reports.
Guard
Manage pre-registered and walk-in visitors, scan checkpoints, monitor parking availability, and respond to panic alerts.
Shared Features
Secure login, in-app announcements, service provider directory, inquiry system, and account statement viewing.
Account Activation Required
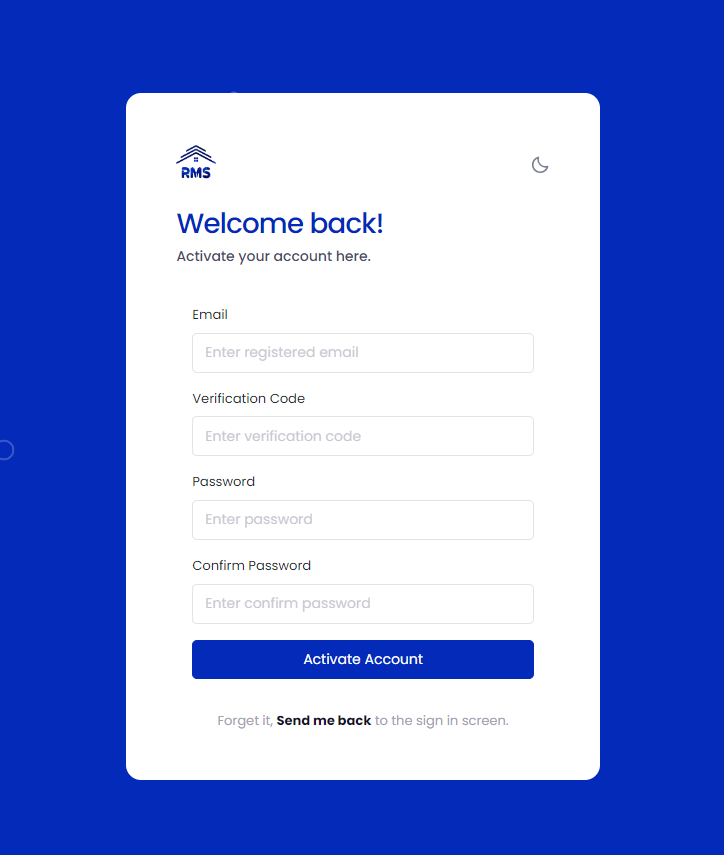
All mobile app users (residents, technicians, guards) must have their accounts created and activated in the Web admin panel before they can log in.
Support
Get Help
For questions, issues, or customization requests, reach out through the following channels.
✉️ Email Support
For technical support and queries, contact the developer directly at vkwebtechent@gmail.com
📄 Documentation
Refer to this documentation for all setup and configuration steps. Keep this file with your project for future reference.
About This System
Product: Resident | Apartment | Property Management System (RMS)
Author: Vijay Kanna
Version: 1.0
Created: April 17, 2024
Stack: .NET 6 · gRPC · ASP.NET MVC · PostgreSQL · Flutter 3.19.0
Author: Vijay Kanna
Version: 1.0
Created: April 17, 2024
Stack: .NET 6 · gRPC · ASP.NET MVC · PostgreSQL · Flutter 3.19.0